Erica Synths Output II DIY Eurorack Module

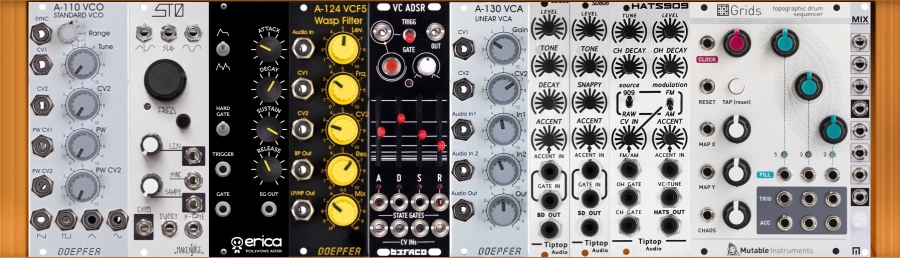
Erica Synths is a Latvian based company that seems to know what people look for when they need something for their Euroracks. They do an extremely varied range of modules, some based on circuits found the infamous Polivoks synthesiser from Russia.

As well as their range of ready to go modules they have gone back to the D.I.Yers and also made a range inspired by the Polivoks.

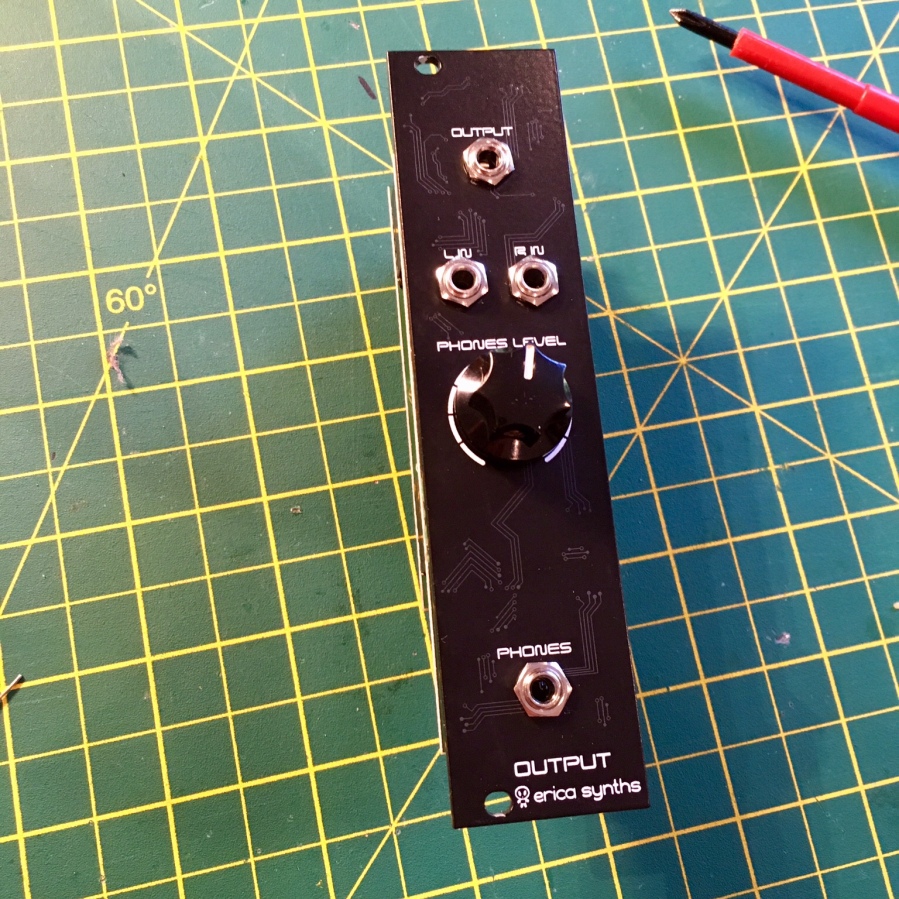
The D.I.Y Output is a great little module to give you a main Stereo Output, Left and Right inputs(if you only plug in the left it’ll become stereo as the right channel is normalled to it if nothing is plugged in on that jack). Nice 👍

You also get a stereo headphone out and level dial. So you don’t have to plug your Eurorack into any other amplifier.

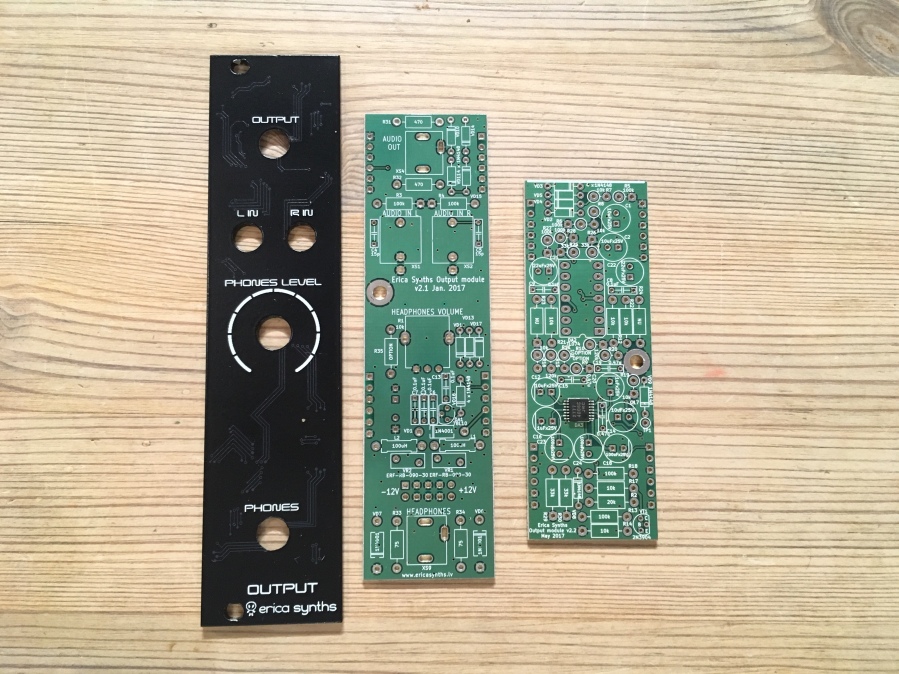
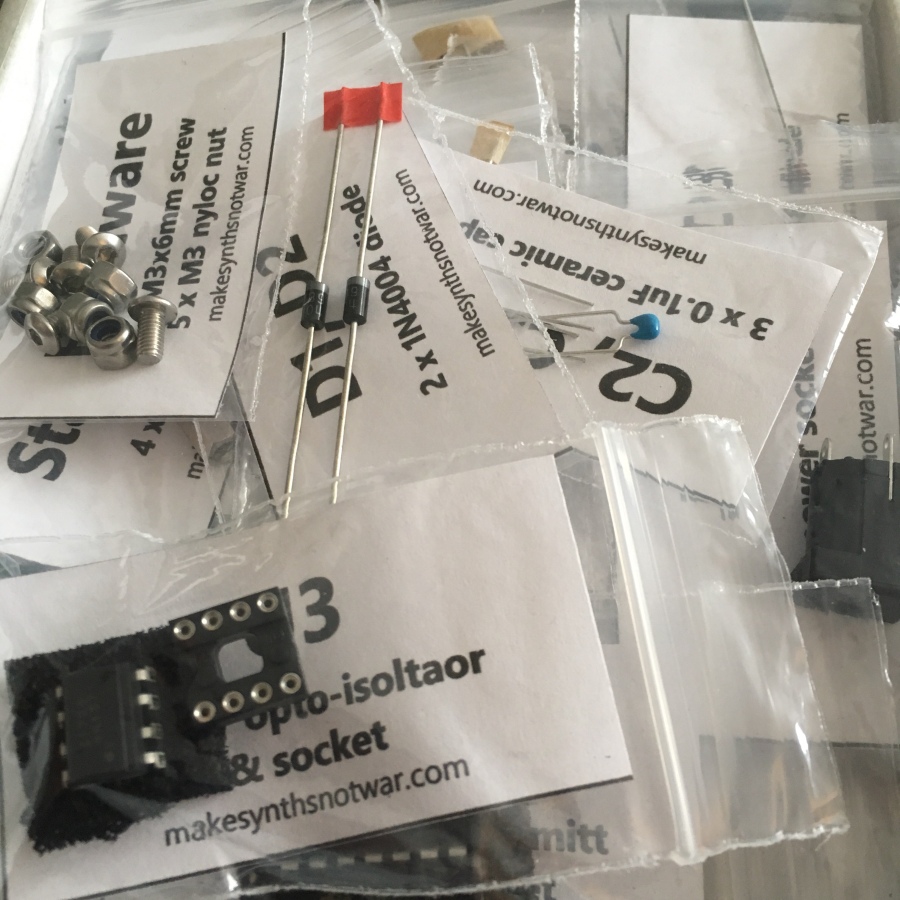
The full kit consists of all the necessary parts for you to be able to complete your build. They are separated into bags for each of the PCBs/Panel which saves you sorting through all the parts. There are build guides, BOM, component placement documents and schematics available online. I highly recommend you download these and read them in detail before starting your build so as to not make any mistakes.

Also to note is that the resistors don’t have any values written on them(like some other company DIY kits do) so I recommend that you either use your multimeter or an online resistor colour code checker and sort them before you start. It is worth doing a complete check of all supplied parts. If there are any missing Erica Synths are really quick at support should you need them.

The Build

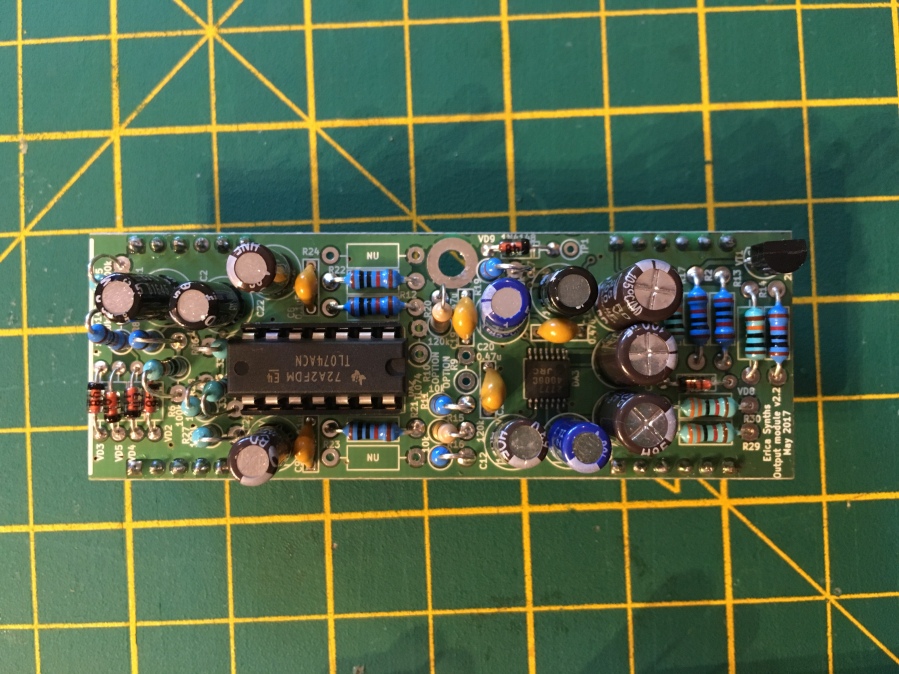
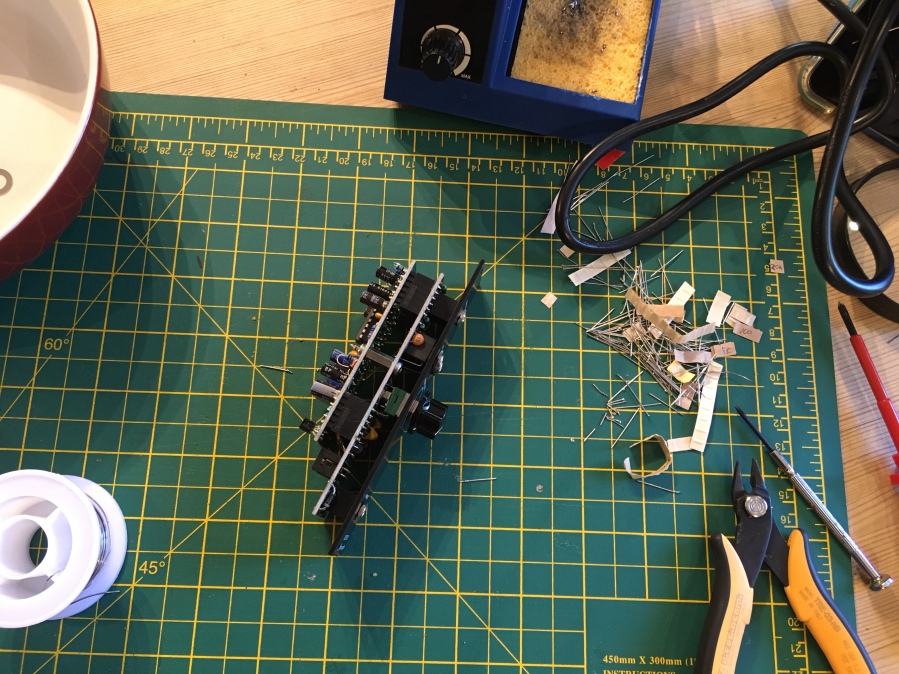
The build went really well for me(I did have an issue with the right input no working once plugged in but a reflow on a bad joint sorted this), as previously mentioned I followed the online build guide and took my time. Their aren’t too many resistors(thank goodness), and there are a few standing ones to do too along with diodes, capacitors etc. There is one SMD chip which is handily pre-soldered and two stereo, plus two mono jacks.

The black panel is black painted aluminium I believe with a nice etched design, the knob and potentiometer is of good quality too. They haven’t cut costs with cheap components here, it’s all good quality and once you’ve built one you will see what I mean.

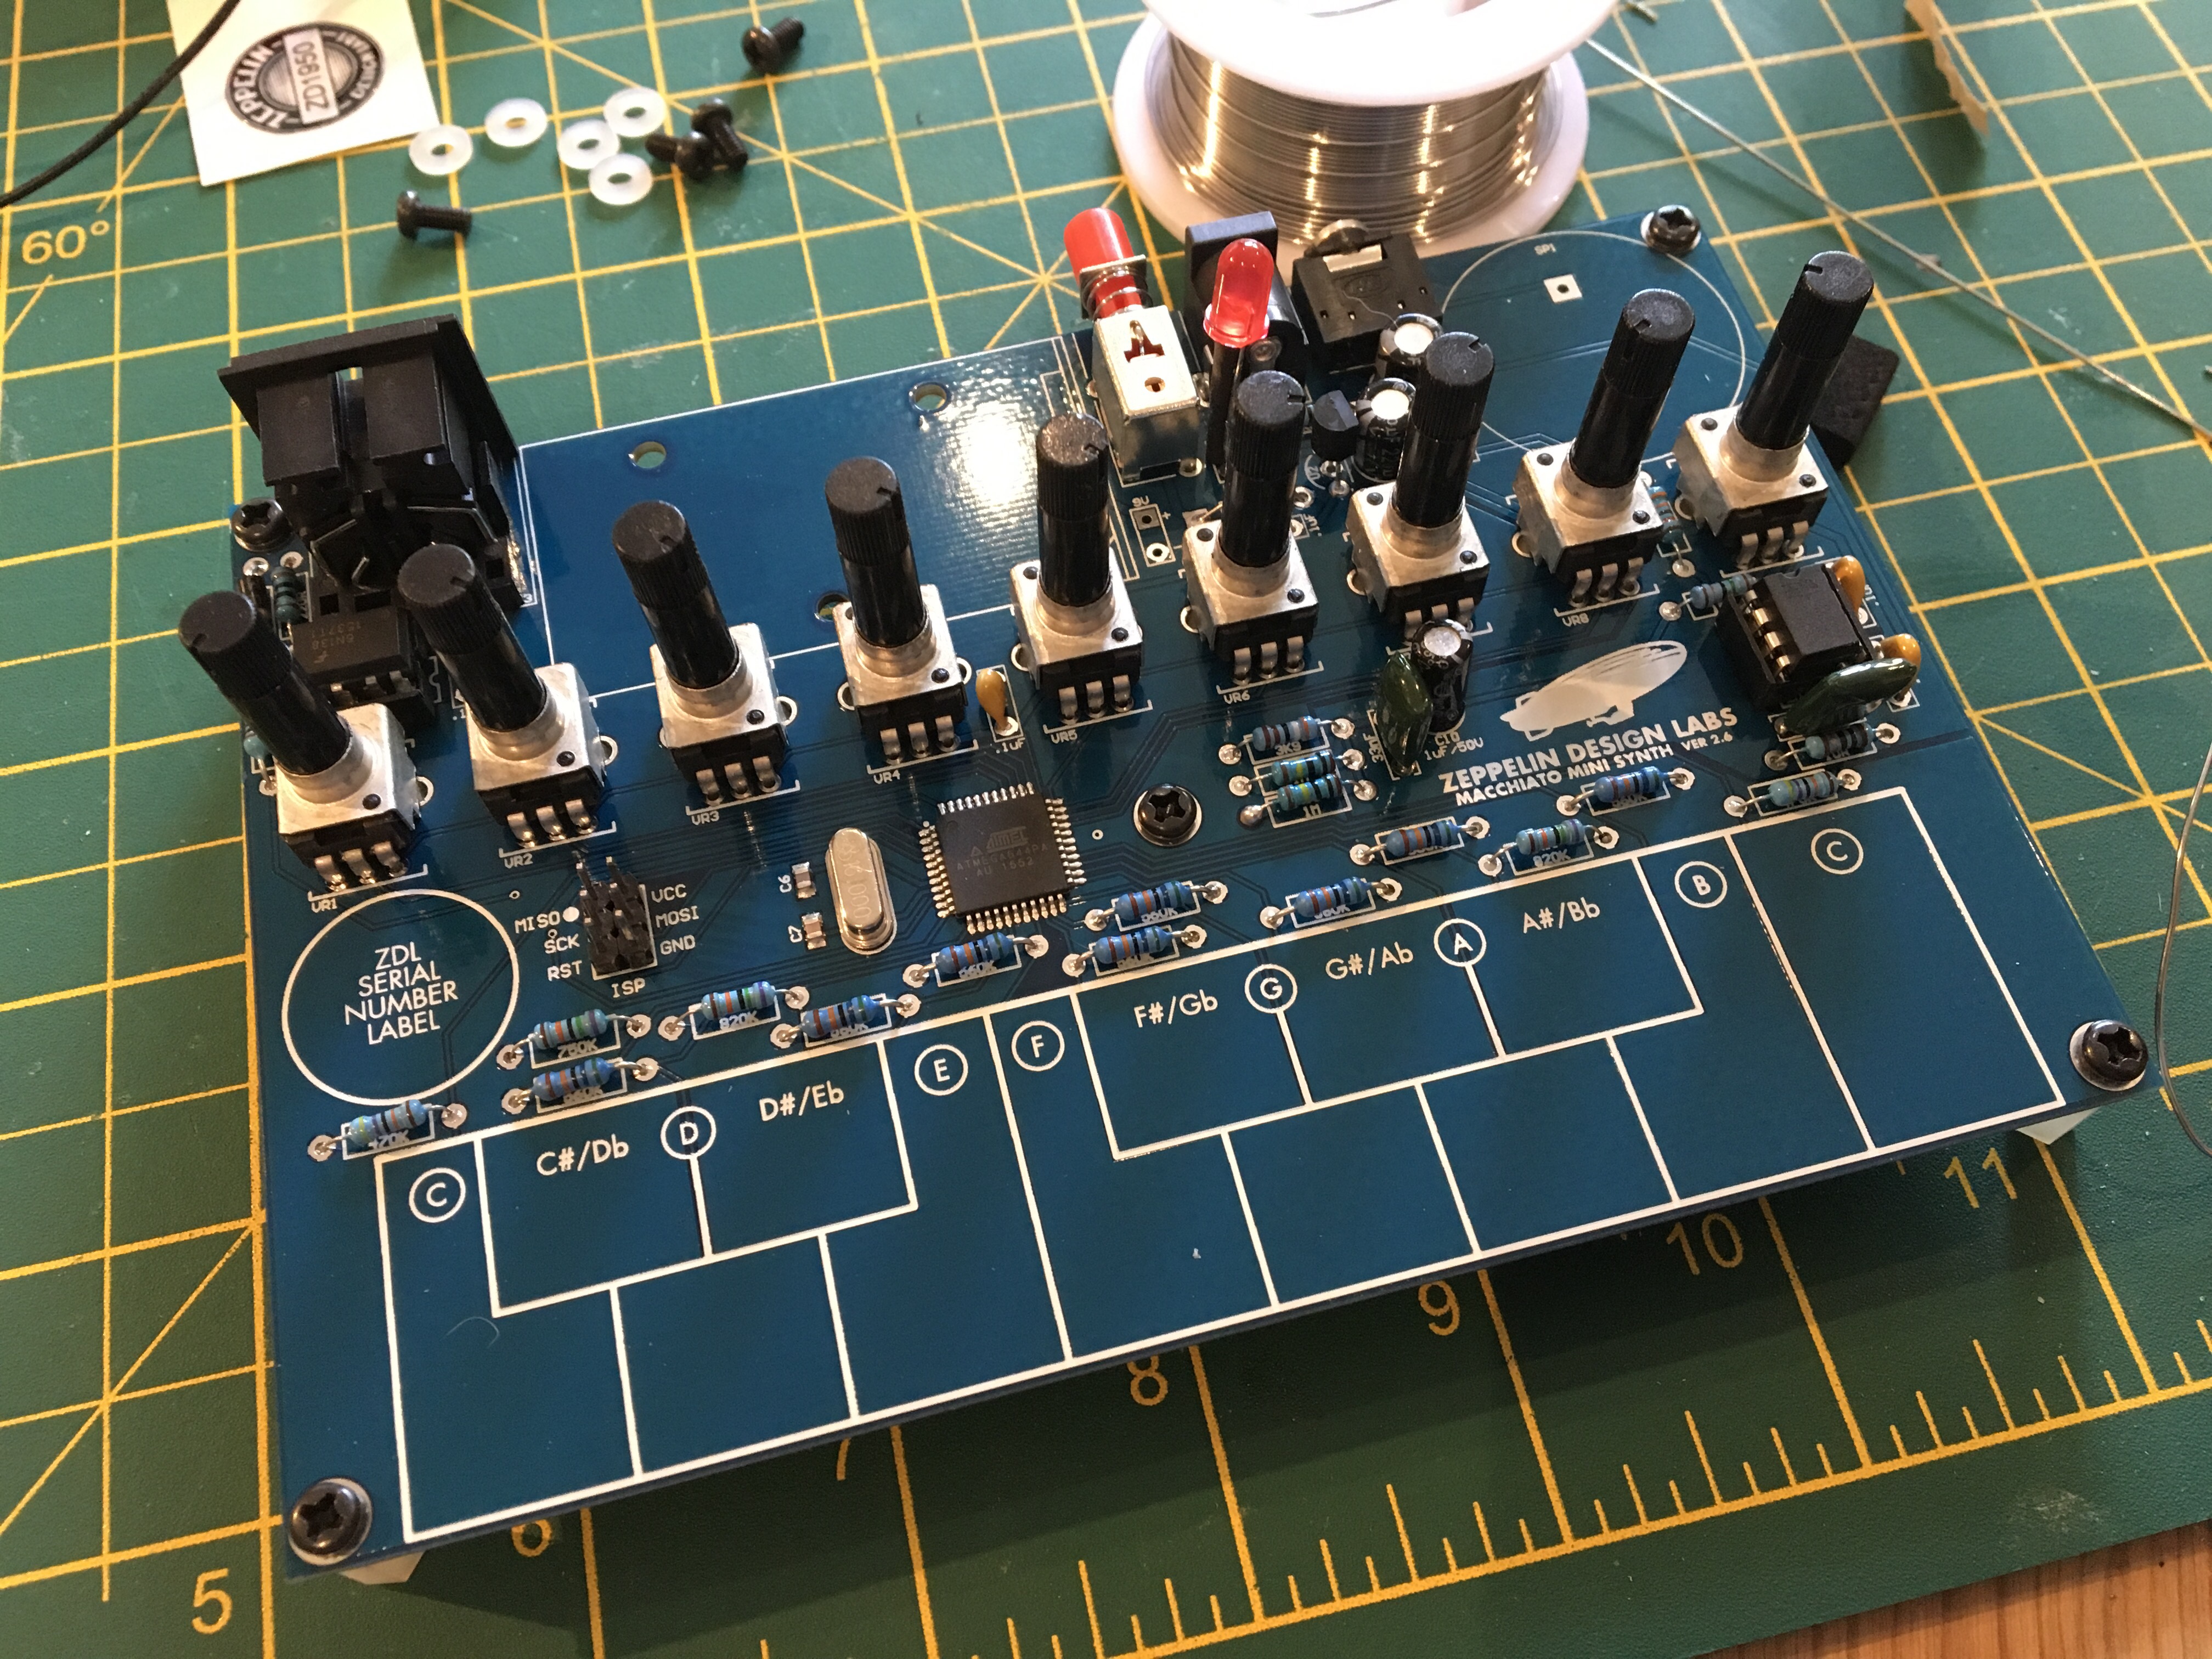
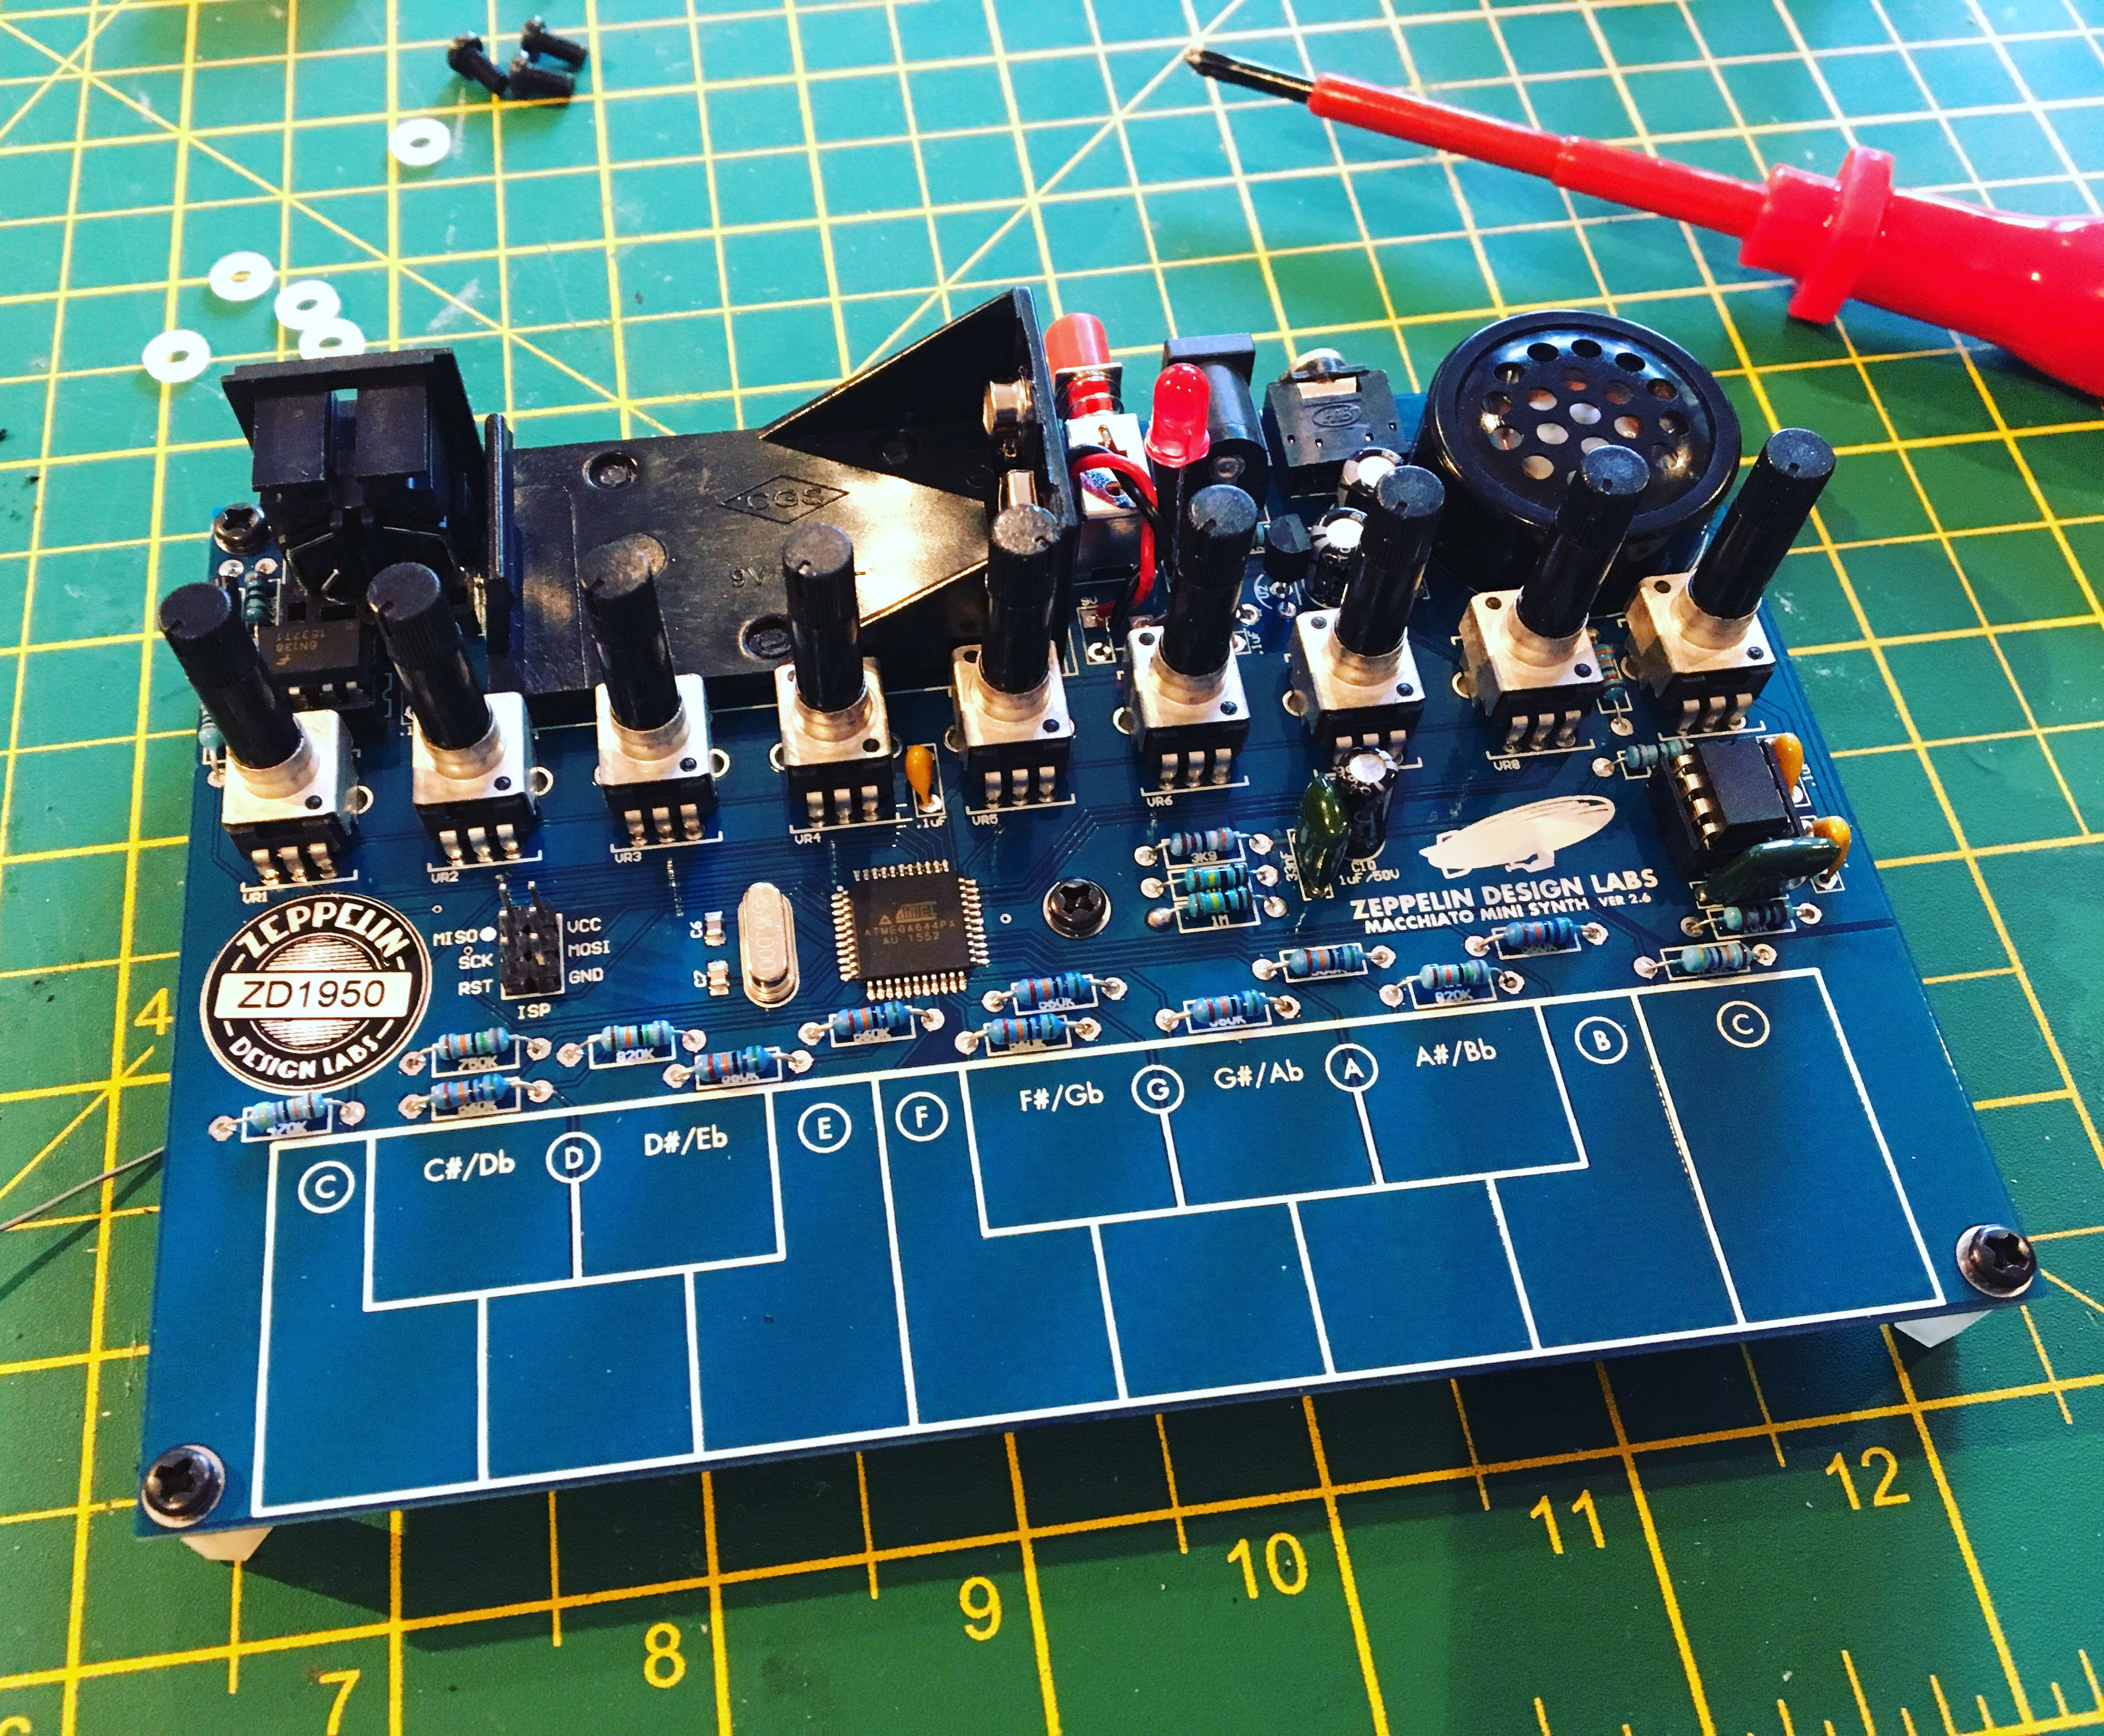
Below are some images of the built module.

So, to sum it up the D.I.Y. Output is a really good kit to add to your Eurorack!

Its available directly from their webshop. Although they are in Latvia the kit was delivered in around a week, you can also get it from other suppliers such as Thonk here in the U.K. and from other suppliers around the globe.

You can also catch a video of my unboxing and build here:

https://youtu.be/CqQWqpUAHc0

Look out for more soon.

Cheers

Zeppelin Design Labs Quaverato Pedal

Zeppelin Design Labs have recently released the Quaverato Harmonic Tremolo pedal. Fortunately there are two versions available, a fully built ready to go unit and also a D.I.Y. Kit which includes everything you need to build yourself in the comfort of your own workshop.

The kit comprises of a galvanised steel enclosure, PCB and various components. Putting the kit together went reasonably well following the really well written build document which I recommend you download and read through from their website.

Here are several images of my build, and it did take me around four hours this also involved an initial set up process.

img_6007-1.jpg

Once you get to the final stages you need to get hold of your multimeter to use test points on the High Pass and Low Pass Filters(also gain if needed) and adjust potentiometers to the recommended settings outlined in the online manual. But after this you are ready to go plug your guitar(or Synth) and get playing.

I won’t go into details about how the pedal sounds as there are already some nice demos on YouTube but it is a very nicely designed kit to build. It was quite nice to build your own optocouplers and the build guide was fairly straight forward. It’s definitely not for beginners but should suit intermediate to advanced kit builders. It doesn’t end there though as there is also a planned MIDI board for external control in the pipeline and also being able to adjust the Low Pass and High Pass filter to suit your sound is an awesome feature. Love the customisation factor.

This kit gets a big thumbs up from me 👍

Rakits Drum Synth and Baby 8 DIY kits

I’ve recently been sent two very nice DIY kits to build from Rakits.

First up is the Baby8 sequencer. It’s a small 9v battery powered sequencer featuring cv/gate outputs and very handily they’ve also added a clock input for syncing the unit from other devices.

The build process was straight forward and I followed the online instructions which were really well laid out. There were a couple of omissions to which I reported and they were quickly fixed by the company. Great support! Components are of high quality and the resistors also come nicely packed with a colour code cheat sheet, which is handy. I still do use a multi meter to check but that’s just me being cautious.

I finished soldering the Baby8 within a reasonable 1hr or so which is pretty good for me. Powered it up and worked first time too. 🙂

Now the Baby8 was completed I needed something to attach it to so next up was to build the Rakits Drum Synth.

Again this came nicely packaged, all components were present(you can check the BOM on their website). A nice touch when I received it was a couple of Drum Stick sweets(I wonder what you get with their Disintegrated Cracklebox….).

The Drum Synth is based on the Boss PC-2 percussion synthesiser but also has a couple of modifications like Pitch CV and selectable VCO/LFO which I think make quite nice additions.

Build took a little longer than the Baby8 but that is to be expected as the number of parts is quite big. One thing I really liked about the build is that the case is made from PCB’s and its held together by slotting them together and using the jack nuts to hold it all together. It really is quite sturdy once it’s all together.

And once it was built, I powered it up and it worked straight away too. I normally find something amiss when soldering but I guess I did well this time. 🙂

If you are into building DIY musical kits then I highly recommend the Baby 8 and the Drum Synth especially. Great fun to build and good fun to use!

Go on make a Rakit 🙂

Zeppelin Design Labs Macchiato Digital Synth build

Zeppelin Design Labs are a small company residing in the USA that design and sell some awesome looking D.I.Y(or prebuilt) kits aimed at musicians/recording artists and general noise makers alike. Seriously, if you take a look at their website you are bound to fall for their cool retro designs of their products! They ship worldwide too so no one is left out.

ZDL felt that I needed something new to build so they kindly sent me a Macchiato Digital Synthesiser kit to make some noise with. As you can see it looks a bit similar to a certain 1970’s ish(I remember those days) hand held device which you played with a stylus.

No stylus needed here though you can just use your fingers or whatever to play the notes.

The Macchiato uses an Arduino and a few other components to make the sound and is based on the Mozzi library. It’s also open source software on there so if you are into hacking or rolling your own code then you can do so if you like.

So in short, it’s a digital synthesizer that’s packed with quite a few features and I’m looking forward to putting it through its paces.

It runs from a single 9 volt battery or power supply and also has a MIDI in so it’s definitely not short on features.

Anyway, I won’t go into a full step, by step instruction of the build as they have a very good and easy to understand guide available to download in PDF format from their website.

As you can see the PCB is not packed with holes everywhere and the layout is really nice.

The board has the SMD parts already added for you so you don’t have to worry about any really tricky soldering with this build.

The resistors all come packed in their values, but I used my handy multimeter just to make sure I soldered the correct ones in place.

The power LED and capacitors were ok too. This really is a well thought out design and layout so hats off to Zeppelin Design Labs for that!

Potentiometers are all the same values, easy to put in as are the MIDI input jack etc.

I didn’t solder the LM386(amp) or Optocoupler directly into the board as they instruct you in the build guide. I went for some sockets which I had laying around in my kit as it means that if the chips go bad for any reason they can be easily replaced.

It is ok to solder them directly into the PCB though, it’s just me being cautious. 😬


And onto the battery holder and speaker. Yep, it has a built in speaker as well as a headphone/audio out socket so it’s very portable.

And that’s it. Nothing else to see here…….

Actually, the kit comes with templates for making and cutting out your own case if you wish to protect the lovely board and components. You can also purchase a plastic case to build too if you want something a bit more robust.

I’m undecided on what to do, shall I make a case from a cereal box or plastic? Or maybe I’ll make a wooden case? Answers on a postcard please….

So to finish, this is a nice easy kit to build. It took me a couple of hours to build and I’m really a novice at this soldering stuff so I highly recommend the Macchiato!

I will hopefully have some audio/video of it in action soon once I recover from a solder burn on my little finger. Oops.

I’ll make sure to update this post with relevant links.

See ya 👋

Novation Bass Station II Remote Map and Codec for Reason

BSII ReMote LOGO

Following on from my previous MiniNova Remote map and Codec for Reason I have also made one for the Bass Station II!

This turns the Bass Station II into a pretty cool MIDI controller.

Controls Always Mapped.png

With this I’ve mapped the most used controls like Filter Frequency/Resonance and also Amp/Filter envelopes to Reasons main synth like Thor/Subtractor etc. I’ve also made the Osc Filter Mod the main Volume for these devices.

note: Most all of the Bass Station II’s controls are also mappable. 😉

You can even control the Faders in the Mixer section using the BS II’s envelope faders(very handy for quick mixing).

The included Remote Map is intended as a start for you set up and control your favourite Reason devices and Rack Extensions so please feel free to use it as you wish.

For details about Remote and where to put the files on your Mac/PC please visit Here

For the Bass Station II Remote Codec and Map click Here


And if you find a use for this and like it,  please feel free to leave a comment.

🙂


Novation MiniNova and Circuit Remote Codecs and Maps for Reason


MiniNova ReMote LOGO.png

The included Remote file and Map are for Novations MiniNova and they will turn this awesome synth into an even more awesome simple controller for Reason! 
I’ve included mapping for most of the built in synth devices in Reason which will allow for the most essential controls such as Filter Cutoff/Resonance and ADSR envelopes, Combinator knobs etc.
Below is a list of the devices I’ve added, and I’ll leave it up to you to get accustomed to Remote Maps so that you can add your own. More information about remote visit Propellerheads here: 
https://www.propellerheads.se/blog/control-remote


MiniNova_Front-performance-controls highlighted.png

Combinator: Attack/Decay/Sustain/Release knobs control the 4 Combinator dials.
Mixer 14:2: Attack/Decay/Sustain/Release knobs and the ones below control the first 8 channel levels.
Line Mixer 6:2: Attack/Decay/Sustain/Release knobs and oscv1sync/osc1density control the 6 channel levels.
SubTractor Analog Synthesizer: Filter and Resonance control(guess what?), and Attack/Decay/Sustain/Release control the Amp Envelope.
THOR Polysonic Synthesizer: Same as above
Malstrom Graintable Synthesizer: You get the idea
NN19 Digital Sampler: etc….
NN-XT Advanced Sampler: etc…
Dr.REX Loop Player: etc…
Redrum Drum Computer: Filter Knob controls main Volume
Kong Drum Designer: Filter Knob controls main Volume
ID8 Instrument Device: Filter Knob controls main Volume
Radical Piano: Filter Knob controls main Volume
EMI: Filter and Res are mapped to CC 71 and 74(filter and Res)
Parsec: Can’t remember
Predator RE: Filter and Resonance control(guess what again?), and Attack/Decay/Sustain/Release control the Amp Envelope.
ReDominator: Filter and Resonance control(guess what?), and Attack/Decay/Sustain/Release control the Amp Envelope.


There are 13 dial controls(3 rows x4 knobs plus the Filter knob) that I’ve made available on the MiniNova for Reason most of these I find are the ones that I mainly use whilst making music.

I have included the main Filter, the Filter row, Amp row and Osc row below. Just use the Performance selector to toggle between each set of four knobs(see the image above).

You can of course also latch any of these controls to other parameters and I hope that you find a use for the Remote Codec and Map for yourselves and feel free to adjust/amend as you wish. This is only intended as a starting point for you to ‘roll your own’ and I hope you have fun with it. 


If you do download and use the files then please feel free to let me know in the comments section.


Your can download the files from here


I have also created a similar Remote Codec and Map for Novation Circuit using the same mapping principles(might be slightly different) which you can download here

2-Circuit-Overhead_0_1.png


Have fun!

Richard
TONAL AXiS

84hp Powered Eurorack case for under £100??

(Modules not included)

Plenty of musicians like myself look for new ways to explore making noise, be it using traditional instruments, hardware synthesisers to software emulations on personal computers or handheld devices like iPads/phones.

One format of instrument(more of a collection of devices) is Eurorack, and this one which seems to be becoming popular amongst many musicians looking to craft their own individual sound. It seems very tempting to craft your own Synth or drum machine/sequencer and effects generator all in one box and it’s one thing that I’m starting out to do.

By looking around online and doing research on what’s needed to get started you will quite quickly conclude that it can be very expensive. The first hurdle to overcome is the case and power supply needed for your modules.

So can you start a decently sized Eurorack case with power supply for under £100?. Yes you can and I’ll help you out.

It can be expensive, but it needn’t be. Looking around at the all in one case and power supplies you will find that you won’t find anything around for less than £100-200. More and more of us seem to be heading towards D.I.Y. as an alternative to what seems to be a bit of an expensive way to get creative in the studio.

In my quest(and I mean quest) to find an affordable solution to getting started with eurorack I’ve researched ways of getting started be it with the totally D.I.Y. approach of building your own case and power from scratch to going it 50/50 with a bit of both.

There are several good resources online to help you find good ways of finding out how to start a Eurorack case with power cheaply like muffwiggler etc but none really with advice for noobs like me.

This is a short list of links to sites that I’ve found where you can clearly get all you need to start a small powered skiff of around 84hp with little or no D.I.Y. For well under one hundred UK pounds(maybe even nearer £60)

Rails:

https://synthracks.com/

Just make end cheeks or a case from cardboard.

Power:

Eurorack Modular Synth – Power Supply Unit (Includes External Power Supply) https://www.amazon.co.uk/dp/B076H8ZNKD/ref=cm_sw_r_cp_tai_ljDBBbA5F40B4

Or get a whole 42hp Eurorack case with power for around £40!!

https://www.dreadbox-fx.com/product/cardboard-case-power-bundle/

Other places to visit especially for your D.I.Y. needs are:

http://www.makesynthsnotwar.com

http://www.thonk.co.uk

Places to go for ready made cases, power etc:

https://www.reddogmusic.co.uk/catalog/keyboards-and-modules/modular-synthesis

https://www.andertons.co.uk/recording/sound-modules-samplers

DIY MIDI ThruBox

If you need a cheap MIDI Thru box solution this kit is amazingly low cost!

Make Synths Not War is a new company from a musician and dabbler in electronics called Morocco Dave. If you are into electronic music then I recommend you head off to the internets to check his music out.

MSNW have a growing range of DIY or prebuilt kits available from Eurorack to useful external boxes of which the MIDI Thru is one of them.

There are a few options available for purchase from just the PCB to the full kit which is what I decided to get.

All parts come nicely packaged in separate bags for ease of identification, and the online build guides take you through putting the ThruBox together in easy to follow steps.

Once built you have the option of housing it into an easily to obtain stomp box enclosure which is what I’ve done here.

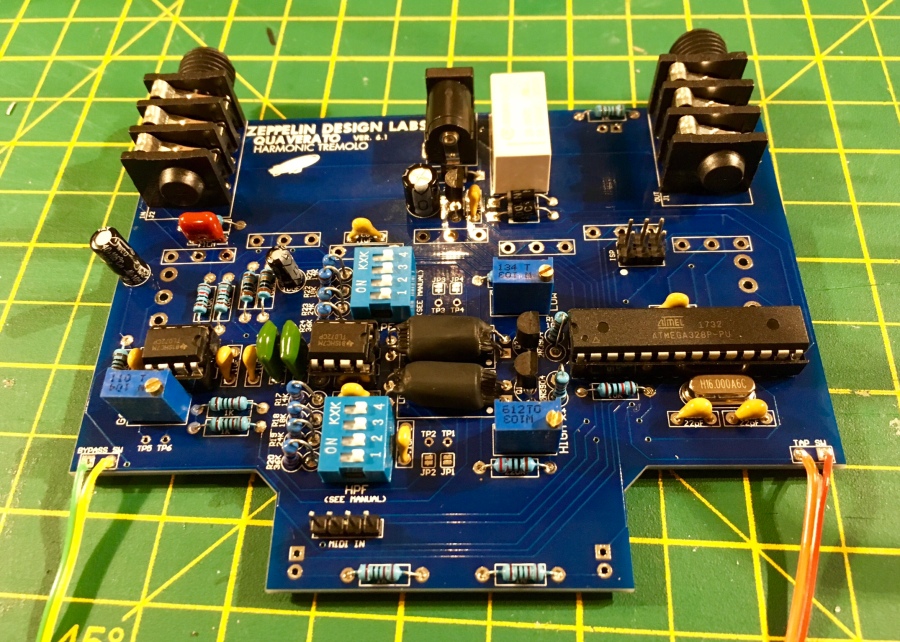
Next all that’s needed to do is power it up. And it’s working very nicely indeed. 🙂

So to end, for about a quarter of the price of already built MIDI thru boxes from other manufacturers and a little bit of soldering you have a fully functioning 5 way ThruBox!

The cool thing is that it’s designed to be very flexible, you can use it embedded in a different project(say a Eurorack) or add your own mini MIDI jacks using stereo audio sockets etc…

I would’ve liked to have seen a power led in the ThruBox but that’s just me.

Excellent kit and I’m looking forwards to seeing what other products Make Synths Not War have in the pipeline!

https://makesynthsnotwar.com

Polybius PlayStation 4 Soundtrack

Just wanted to mention that I have 3 music tracks included in the recently released PlayStation VR game by Llamasoft! 

This is an awesome tunnel type shooter based on an old mythical arcade game, it’s so much fun to play even on a normal TV. It’s extremely addictive. 


The soundtrack is also available here and includes a fantastic CD-R friendly continuous mix by Korruptor(Gareth Noyce). 

Synths and Wood Novation Circuit stand.

Synths and Wood are a small UK based company providing some excellent ‘hand made’ wooden stands and end cheeks for a growing range of studio hardware. 
They’ve kindly sent me a freshly made stand for the Novation Circuit to try out for size. 

The kit itself comprises of only a couple of oak(yes real wood!) sides and an MDF base, four screws and some clear rubber stick on feet to stop the unit sliding around. 

Building the case is really simple, you just need a flat surface to make sure everything is flat and square. Once the sides are on and you have placed the Circuit in and tightened the screws a bit more(to hold the unit in place) it really looks the part. 


Mike from Synths and Wood has designed the stand so that it puts the Circuit at a really nice angle, a bonus(and unintentional I believe) feature is that if you use Circuit with just the internal speaker the sound seems a lot clearer to my ears. 

So, overall these are beautiful hand built stands. The angle the Circuit sits at is perfect for desktop use and the oak sides give it a really pleasing look. 
Synths and Wood have a growing number of stands and cheeks for numerous products and they are also open to custom work for any type of studio gear. So if you want to give your gear a bit of style and polish some wood every now and then I would recommend paying them a visit here.
Here is also a Mininova with custom walnut end cheeks also from Synths and Wood. The originals are just MDF with a wood grain sticker on.